This is an old revision of the document!
Web Cache Web Server Configuration - LiteSpeed Native
Note: If you are running your server with cPanel/WHM or Plesk, you should not follow the instructions on this page.
Cache Storage Settings
Set Server level cache root
From the WebAdmin Console, navigate to Configuration » Server » Cache and set Storage Path under “Cache Storage Settings”.
For example:
Storage Path: /home/lscache/.
Set virtual host level cache root
From the WebAdmin Console, navigate to Configuration » Virtual Hosts » <vh_name> » Cache and set Storage Path under “Cache Storage Settings”.
For example:
Storage Path: /home/<vh_user>/lscache/.
If it does not exist, the cache directory will be created automatically by LiteSpeed Web Server during startup as lscache under the user's home directory.
Notes: If different vhosts share the same document root, these vhosts have to share the same vhost level cache root directory.
Cache Policy Settings
Under “Cache Policy” at either the Server or Virtual Host level, leave all cache policies as “not set”. 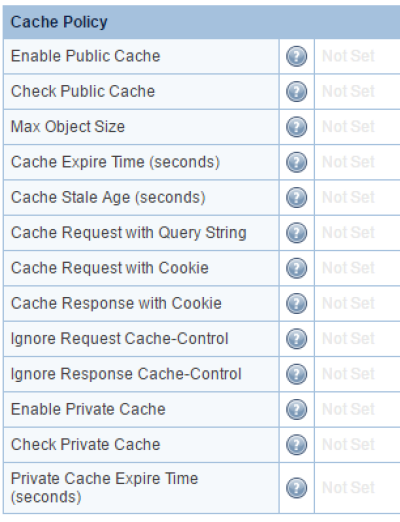
Perform a graceful restart of LiteSpeed Web Server.
Note:
“Enable Public Cache” should always be “Not Set” or “No” unless you want to enable cache globally, which is definitely not recommended.
Check Public Cache better set to “Not Set” but should never be “No” otherwise it will turn off the cache lookup and LScache won't work.
To enable cache lookup, You can either set Virutal host level “Check Public Cache” to “yes” or add the following directive to the .htaccess file of a specific WordPress installation.
<IfModule LiteSpeed>
  CacheLookup public on
</IfModule>
This will have the effect of turning on LSCache for only this site, allowing you to choose which sites have caching enabled.
Advanced Cache Configuration
For Advanced Cache Configuration info, look here.