This is an old revision of the document!
How to setup Redis with LiteSpeed Web Server
This guide is valid for both no Control Panel and with control panels.
Install Redis daemon
- Add the EPEL repository:
yum install epel-release
- Install Redis:
yum install redis
- Start Redis:
systemctl start redis
Install Redis PHP extension
The phpredis extension provides an API for communicating with the Redis key-value store.
Without control panel
- Add the litespeed repository:
rpm -ivh http://rpms.litespeedtech.com/centos/litespeed-repo-1.1-1.el7.noarch.rpm
- List the litespeed Redis PHP extension
yum list | awk '/lsphp/&&/redis/'
- Install PHP version depends on which version you are using:
yum -y install lsphp71-pecl-redis
With cPanel
- Installing the Redis PHP extension for all available versions of PHP:
for phpver in $(ls -1 /opt/cpanel/ |grep ea-php | sed 's/ea-php//g') ; do
cd ~
wget -O redis.tgz https://pecl.php.net/get/redis
tar -xvf redis.tgz
cd ~/redis* || exit
/opt/cpanel/ea-php"$phpver"/root/usr/bin/phpize
./configure --with-php-config=/opt/cpanel/ea-php"$phpver"/root/usr/bin/php-config
make && make install
echo 'extension=redis.so' > /opt/cpanel/ea-php"$phpver"/root/etc/php.d/redis.ini
rm -rf ~/redis*
done

/scripts/restartsrv_httpd
/scripts/restartsrv_apache_php_fpm
- Check Redis:
for phpver in $(ls -1 /opt/cpanel/ |grep php | sed 's/ea-php//g') ; do
echo "PHP $phpver" ; /opt/cpanel/ea-php$phpver/root/usr/bin/php -i |grep "Redis Support"
done
Output should be:
PHP 55
Redis Support => enabled
PHP 56
Redis Support => enabled
PHP 70
Redis Support => enabled
Verify the Installation
- Verify that Redis is running with redis-cli:
redis-cli ping
If Redis is running, it will return:PONG

Try the redis-benchmark utility
- A typical example would be:
redis-benchmark -q -n 100000
Output:
PING_INLINE: 31826.86 requests per second
PING_BULK: 31595.58 requests per second
SET: 33568.31 requests per second
GET: 31908.10 requests per second
INCR: 32647.73 requests per second
LPUSH: 31220.73 requests per second
RPUSH: 31565.66 requests per second
LPOP: 31555.70 requests per second
- If you want to run one million SET operations, using a random key for every operation out of 100k possible keys, you can use the following command line:
redis-cli flushall
redis-benchmark -t set -r 100000 -n 1000000
Output:
====== SET ======
  1000000 requests completed in 32.43 seconds
  50 parallel clients
  3 bytes payload
  keep alive: 1
99.98% <= 10 milliseconds
99.99% <= 11 milliseconds
99.99% <= 12 milliseconds
100.00% <= 17 milliseconds
30833.75 requests per second
- Note:
- For more information, please refer here
Integrate WordPress with Redis
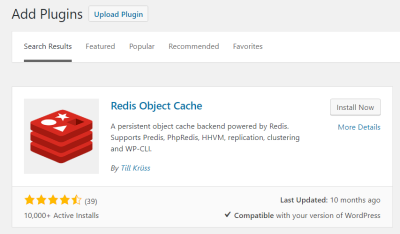
- WordPress install Redis Object Cache Plugin
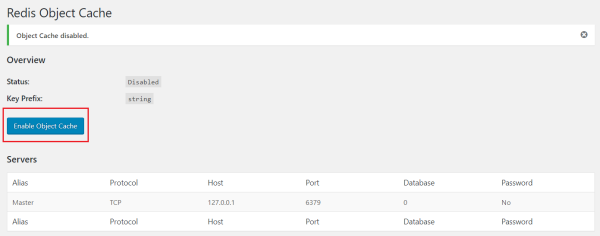
- Activate and click Enable Object Cache button
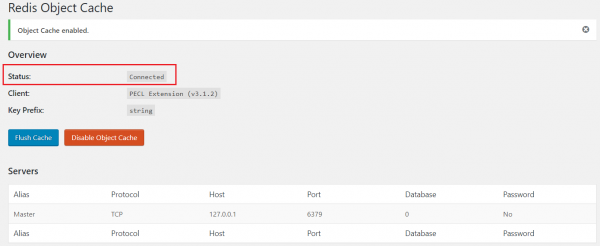
- Confirm Status is
Connected
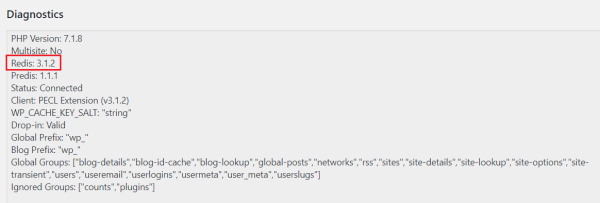
- Confirm Diagnostics shows Redis with version
- Edit
wp-config.phpand at the end of theAuthentication Unique Keys and Saltssection, add the following lines:- define('WP_CACHE_KEY_SALT', 'string');
- define('WP_CACHE', true);
- Restart LSWS
service lsws restart
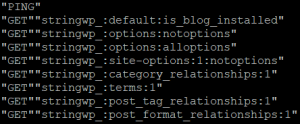
- Test WordPress is communicating with Redis by monitor command:
redis-cli monitor


Other Settings
- If you want to setup Master-Slave Replication, you may need to enable firewall for port 6379
firewall-cmd --permanent --zone=public --add-port=6379/tcp
firewall-cmd --reload
- To automatically start Redis on boot:
systemctl enable redis
- For disk persistence, you can set
/etc/redis.conf:- appendonly yes
- appendfsync everysec
- More Redis Security information please follow here