This is an old revision of the document!
LiteSpeed Cache for WordPress: Debug Log
One of the most useful tools in your arsenal, when it comes to troubleshooting, is the debug log. In order to see this option in your LiteSpeed Cache menu, logging must be enabled. You can do so via the LiteSpeed Cache > Settings > Debug screen.
Once logging is enabled, you can view the log by navigating to LiteSpeed Cache > Debug Log.
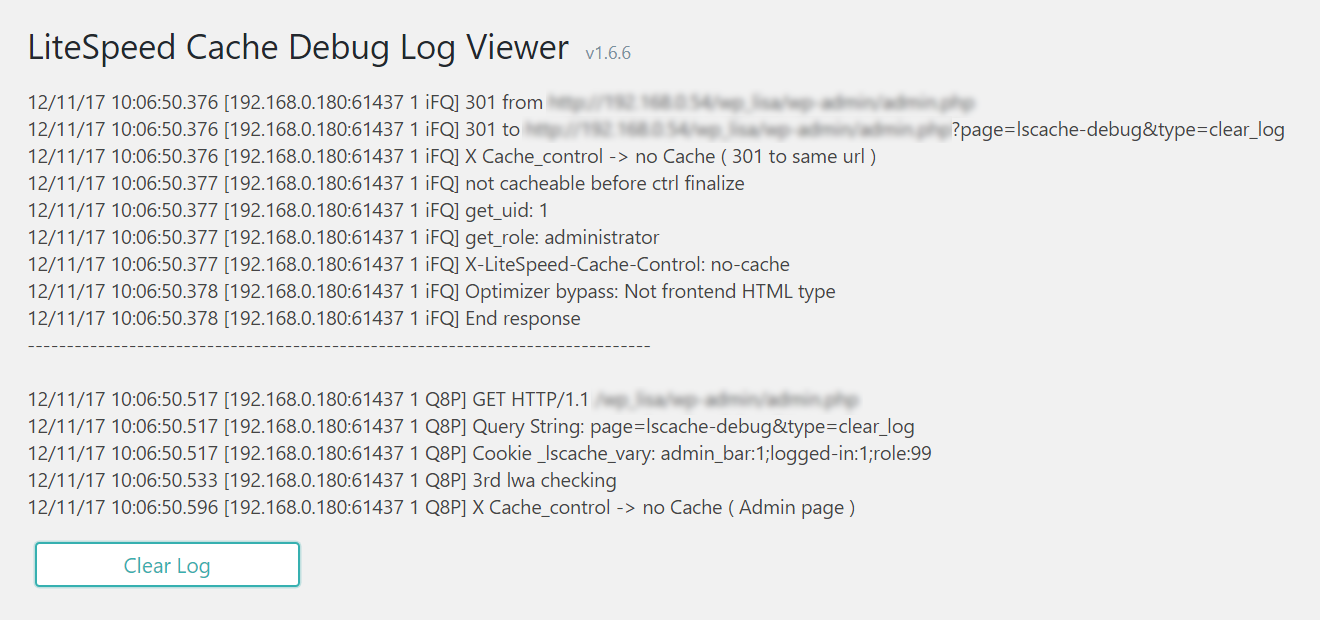
If the log contains too many older entries, press the Clear Log button to erase all but the most recent set of entries.
If you don't see information relevant to the problem you are experiencing, try to reproduce the problem while debugging is enabled, then come back to this page to see the result.
Copy the most relevant lines (or the most recent lines, if you are unsure what is relevant) from the log and share them with LiteSpeed support, if necessary.
Be sure to turn the debug log off, if you no longer need it, as it can grow quickly.